This article is about how to update navigation links in your site header as well as buttons.
*🖼️ You will find screenshots for each step customized to the specific template you've chosen.
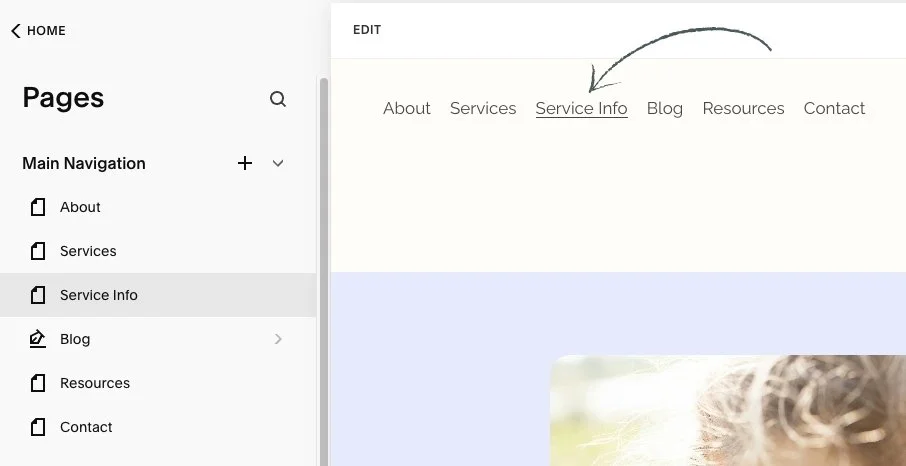
On your Main Menu on the top left-hand side, click on Website, then Pages and you'll see each of the pages of your site there.
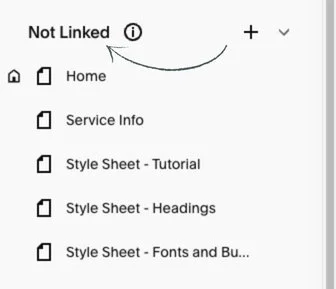
• You will see the pages listed in the Main Navigation, and then the pages on the Not Linked section.
Not Linked: These are pages that exist on your website but are not linked from the main navigation.
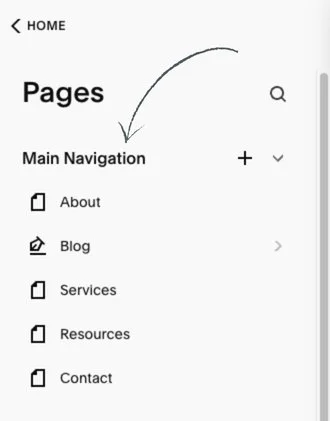
• If you want to change the order that your main navigation options are appearing, all you need to do is click and drag them up or down.
Let’s say you want Services page to be first:
You just click and drag it up.

• To move a page from Not Linked to the Main Navigation so it will appear in your site header:
Simply just click on the page and drag it up. It will be listed in the site header.
• To remove a page from the Main Navigation to the Not Linked section, take it, drag it down to the Not Linked section.
It will disappear from the main navigation.
• To update a Button:
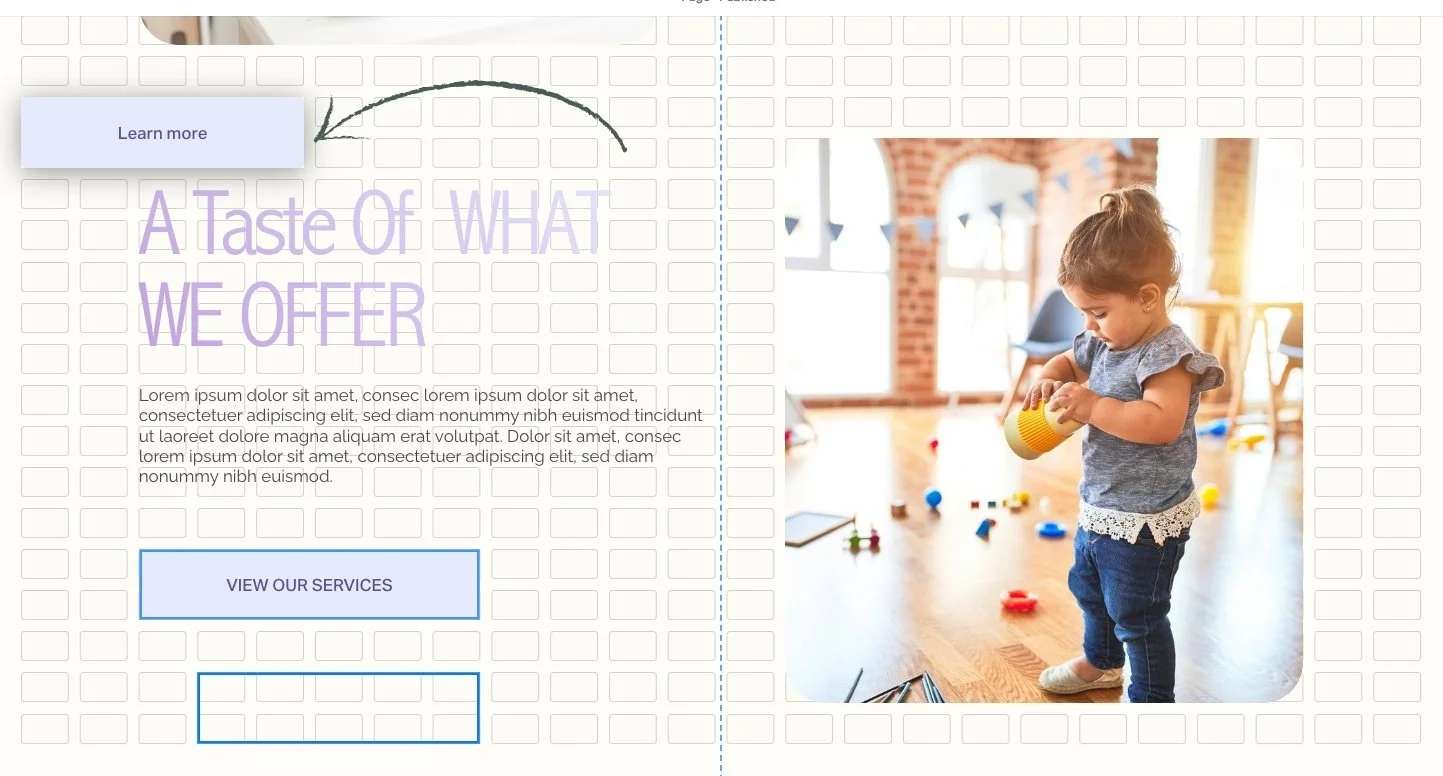
Button Blocks are designed for guiding visitors to take action and effortlessly direct them to important information.
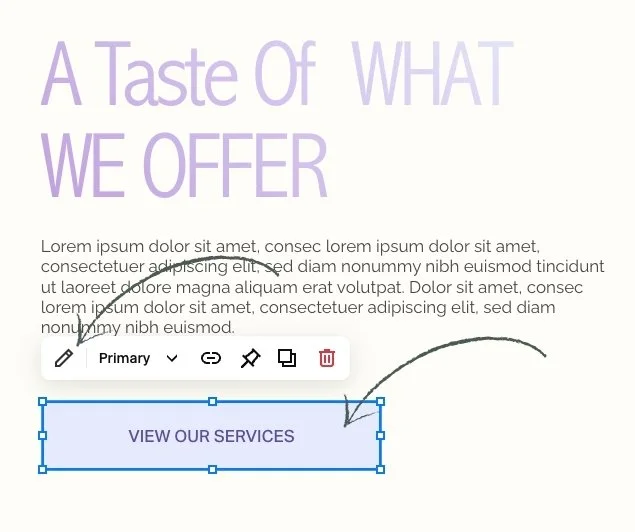
Click on the Button to bring up the Button Settings.
You’ll see a little menu pop up. That will have a pencil icon.
Click on the pencil icon to edit the button, which will bring up a settings pop up.

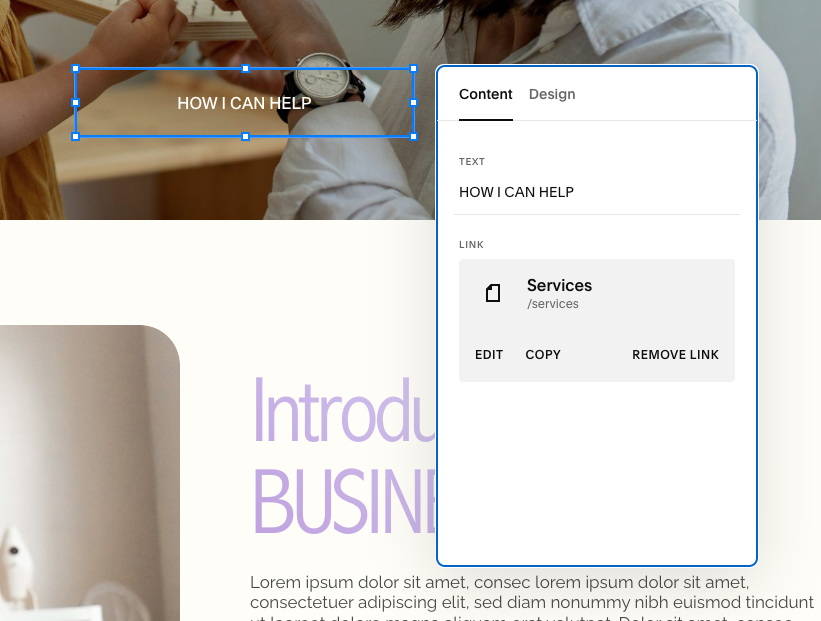
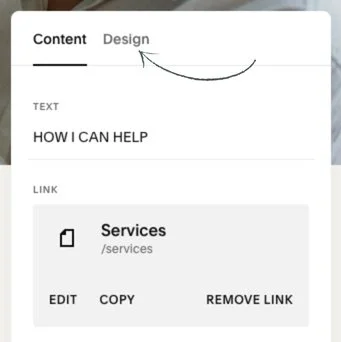
• You can change the button text to whatever you like by entering the new name in the text field.

• To link the Button to a page:
The Buttons on your template are likely already linked to a page. If you want to change the link:
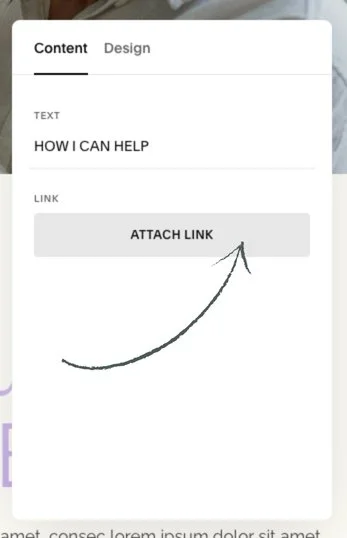
Click on Remove Link.
Then Click on the Attach Link Button. A pop-up will appear, allowing you to choose a Page from your site or enter the URL of the page you want the Button to link to.
• This can be an internal page on your site like Services or an external URL.


3. After entering the link, make sure to click out and then click save.

• To add a Button Block:
1. Go to edit mode.
2. Go to the Section where you want to add a button.
3. Click Add Block to add a Button Block.

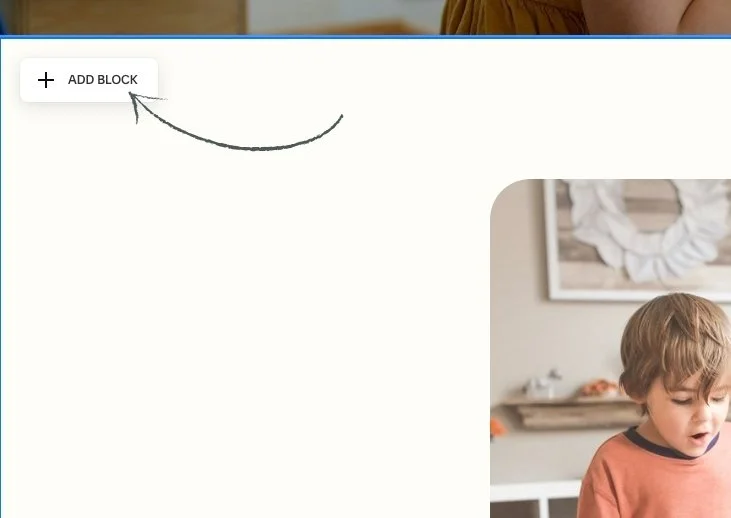
4. Select Button and you will see a button appear on your page.
5. Click and drag it to your desire location.

• To Style the button:
Select the Button Block and you’ll see a little menu pop up. That will have a pencil icon.
2. Click the pencil icon, which will bring up a settings pop up.
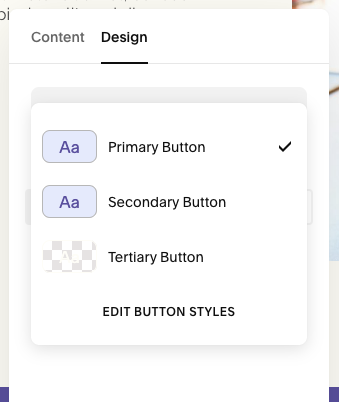
3. Click on Design.
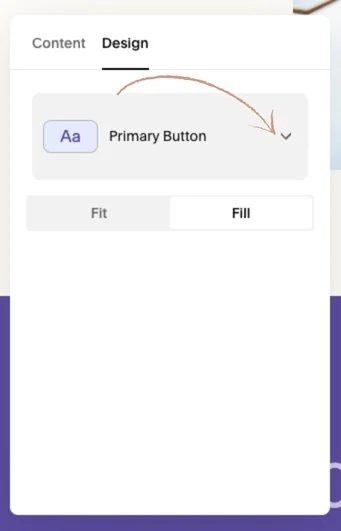
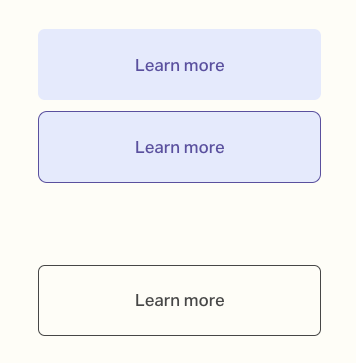
• You will find options to select the Button Style such as: Primary, Secondary, and Tertiary.
These styles can be edited using the site style menu.
Choose your fit or fill design option:
Fit will resize the button based on the text inside. Buttons using the fit design option can be aligned to the left, center or right.
Fill will stretch the button style to fill the content block container both horizontally and vertically.
4. Choose the style that best fits your design.
⭐️ Make sure to click out and then click save.
• Now, when it comes to the colors of your buttons that’s going to be something that’s unique based on your color theme. How to Change the Buttons Color Tutorial