This article is about how to change fonts.
*🖼️ You will find screenshots for each step, customized to the specific template you've chosen.
In this tutorial, we’ll use the “Style Sheet – Fonts and Buttons” page, located in the Not Linked section of your site. This page showcases the Wise Academy Fonts and serves as a helpful reference to see how your site content will appear when you make changes in the Fonts menu.
💡Keep in mind: Changes made in Site Styles apply across your entire site. If you update a font here, the changes will be reflected on all pages automatically.
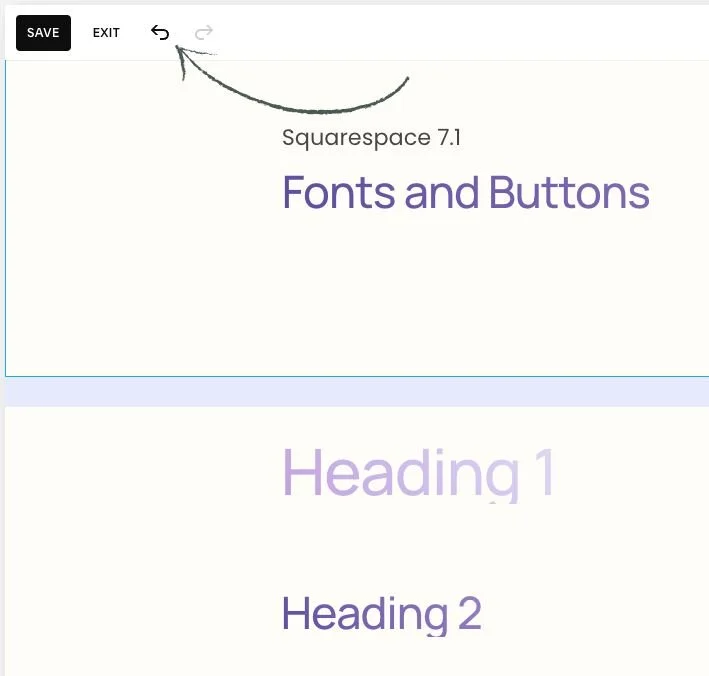
If you're using a Style Sheet page (or any other page) to test different styles like fonts or colors, you can always revert changes using the undo/redo arrows in the top-left corner of the editor. These work for most changes in the page editor, including blocks, sections, section styles, and site styles.
If you click Save in the top-left corner while editing, you can still undo or redo changes within that session.
However, once you Exit the page, your editing session ends, and any changes you made can no longer be undone or redone.
• From the “Style Sheet - Fonts and Buttons” on your site:
Go to edit mode.
Click on the paint brush icon on the top right-hand side. That opens up a menu.
Click on Fonts.
The first thing you will see is the font pack I picked for this template. The font pack assigns fonts to everything on your website.
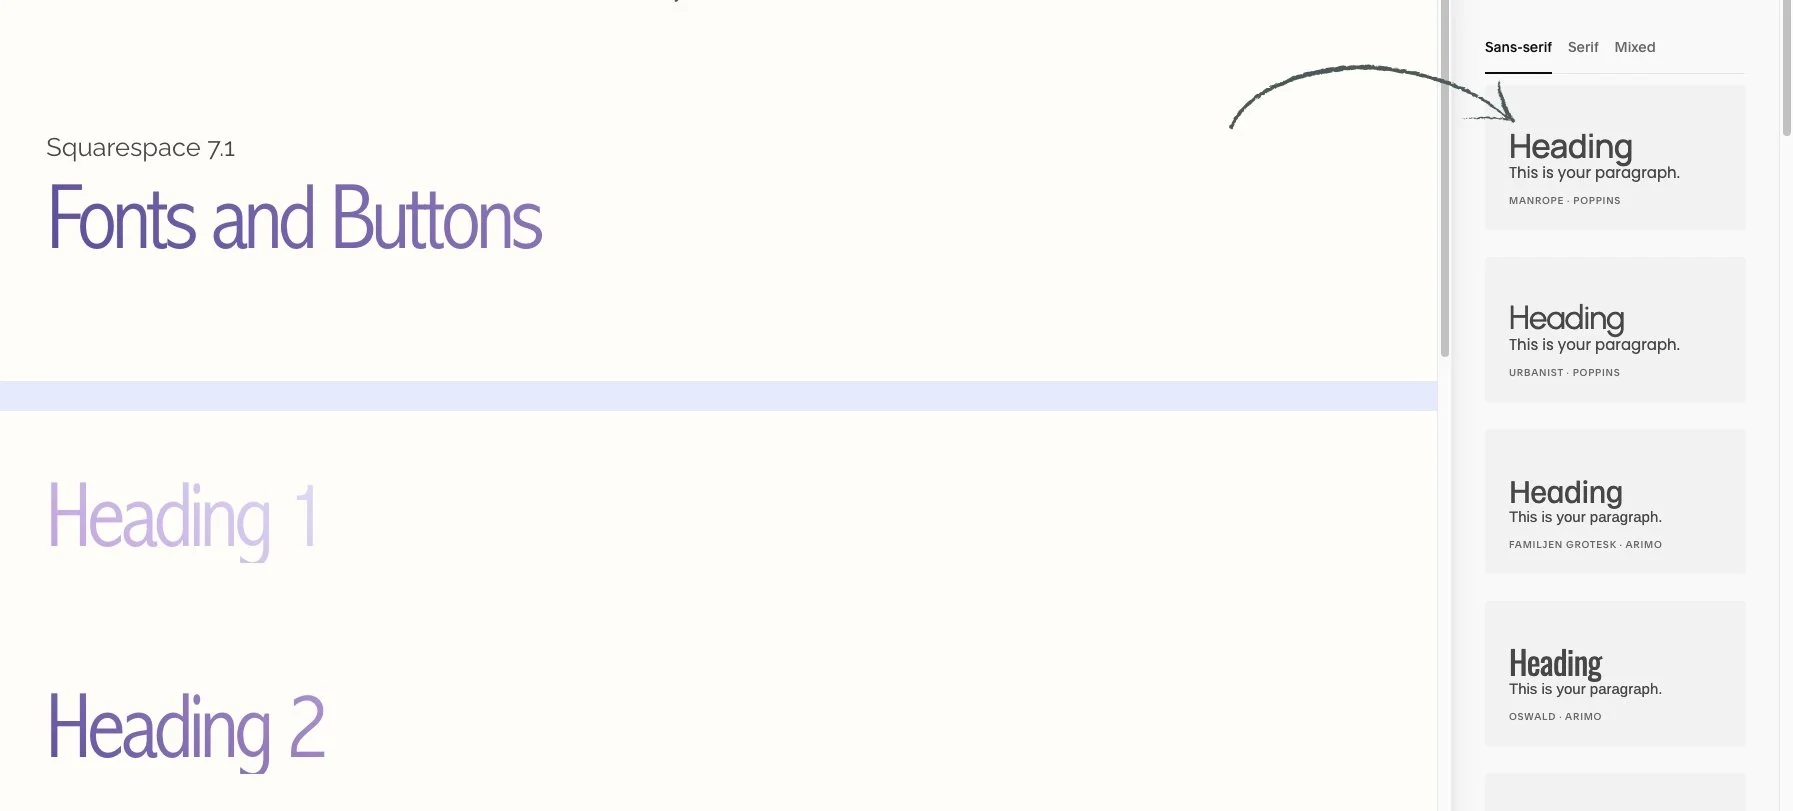
• Now let’s go ahead and click on All Font Packs, so you can see the Font Packs made by Squarespace ahead of time.
• You have got Sans-serif fonts, Serif, or Mixed which is a combination of Sans-serif and Serif, that you can pick from.
⚠️ Important: This template includes a special feature created by custom CSS, which adds a unique hover effect to Headings. It’s already installed and ready to use.
🔮 Every time you use one of the Headings (H1, H2, H3, and H4) the effect will automatically be applied.
✨ Gradients are a fabulous way to add a little extra magic to any website! ✨ These gradients are easy to use and will give your projects a professional look.
If you don't want this to appear in your site, you can just simply delete it out. I’ll show you how to do it.
💡 I will walk you through this in the CSS - Template Feature - Tutorial
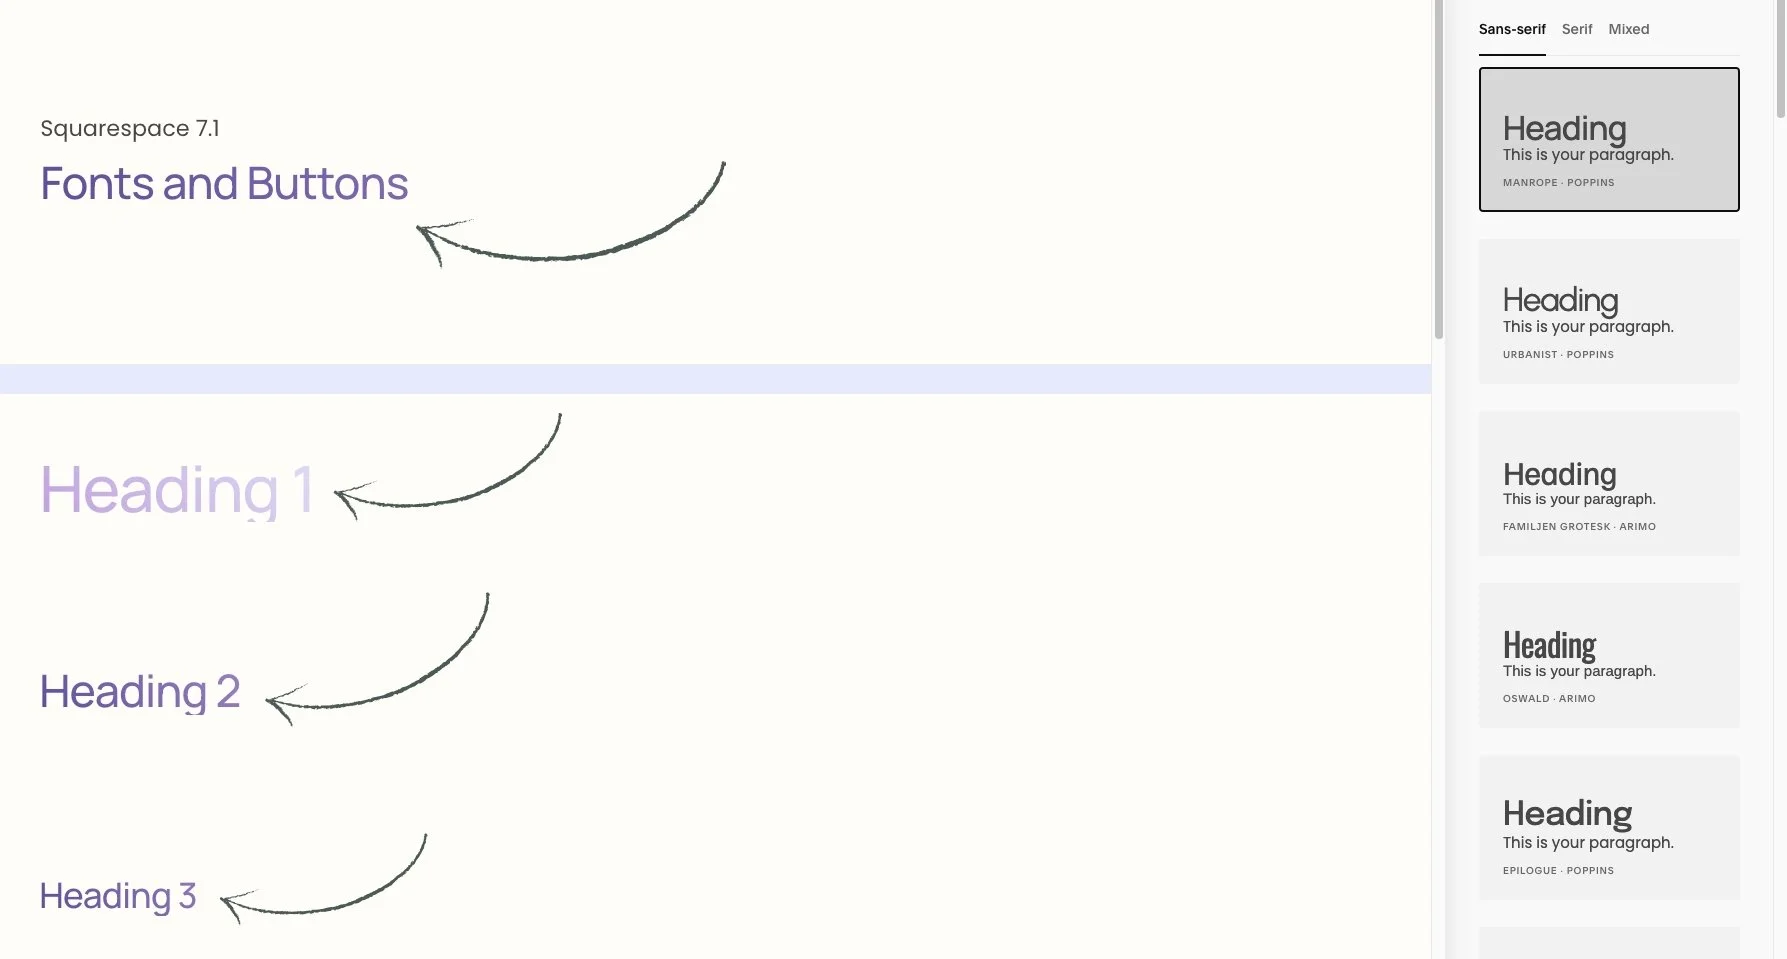
• Let’s click in any of the Font options, like the first one for example: Manrope -Poppins.
Just a quick note: Squarespace occasionally retires certain fonts, which means they’re no longer available in the font library. If the fonts in your template look slightly different from the tutorial screenshots, it’s because the original font was retired and I manually updated it with a similar one to keep the overall style consistent.

⭐️ It will automatically update all of the fonts on your website to match that style:
• You will notice everything on the page has been updated to the one you just chose.
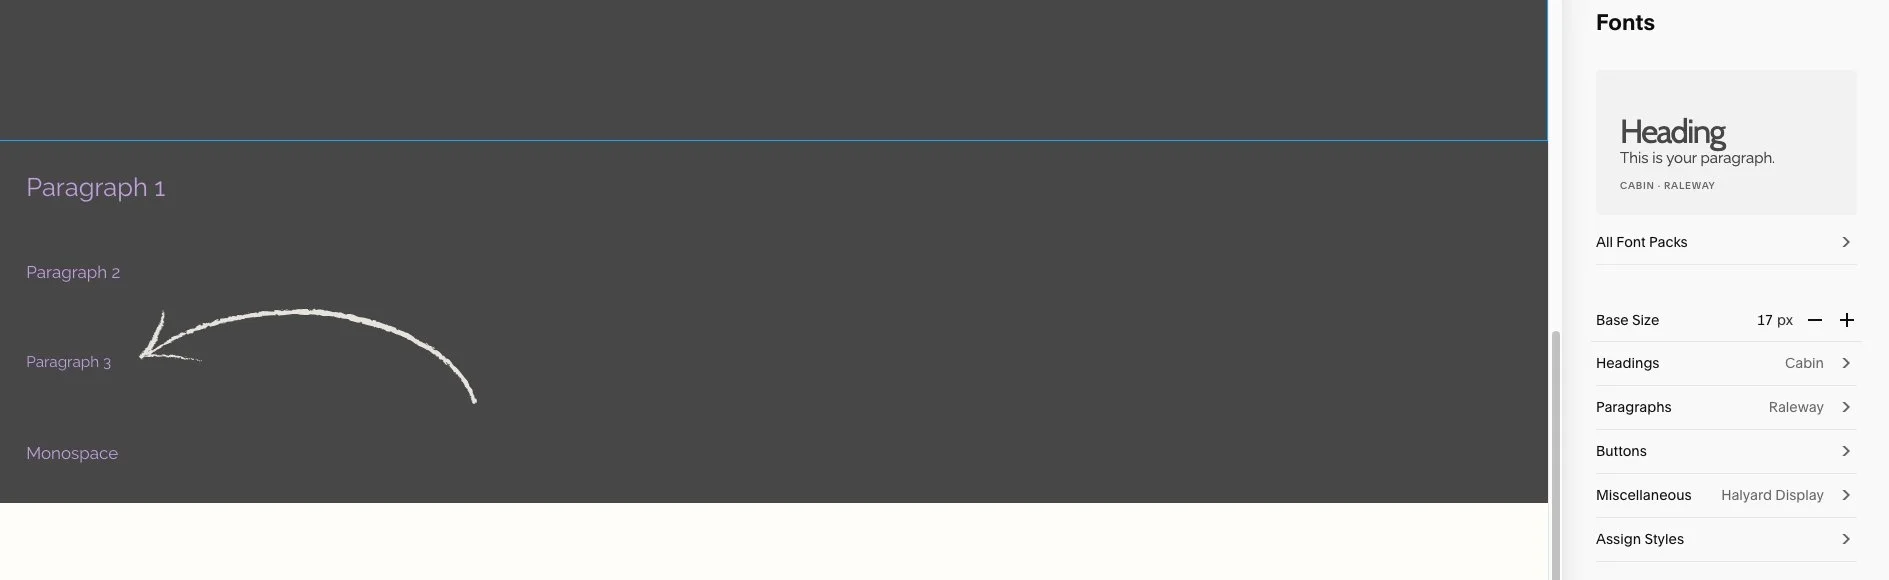
🔸 Remember, you have all of these texts lined out for each one of the Wise Academy Template’s Fonts on a Page named “Style Sheet - Fonts and Buttons” located on the Not Linked section. You can use it and easily see what the content of your site will look like when you make changes on this Font menu.
• On the Style Sheet Page - Fonts and Buttons, you have examples of Heading 1 text, Heading 2, Heading 3, Heading 4, and Paragraphs:
Let’s go ahead and explore with Paragraphs:
Click the Undo arrow to revert to the original fonts.
Then, click on Fonts in the upper right-hand corner to return to the Font menu.

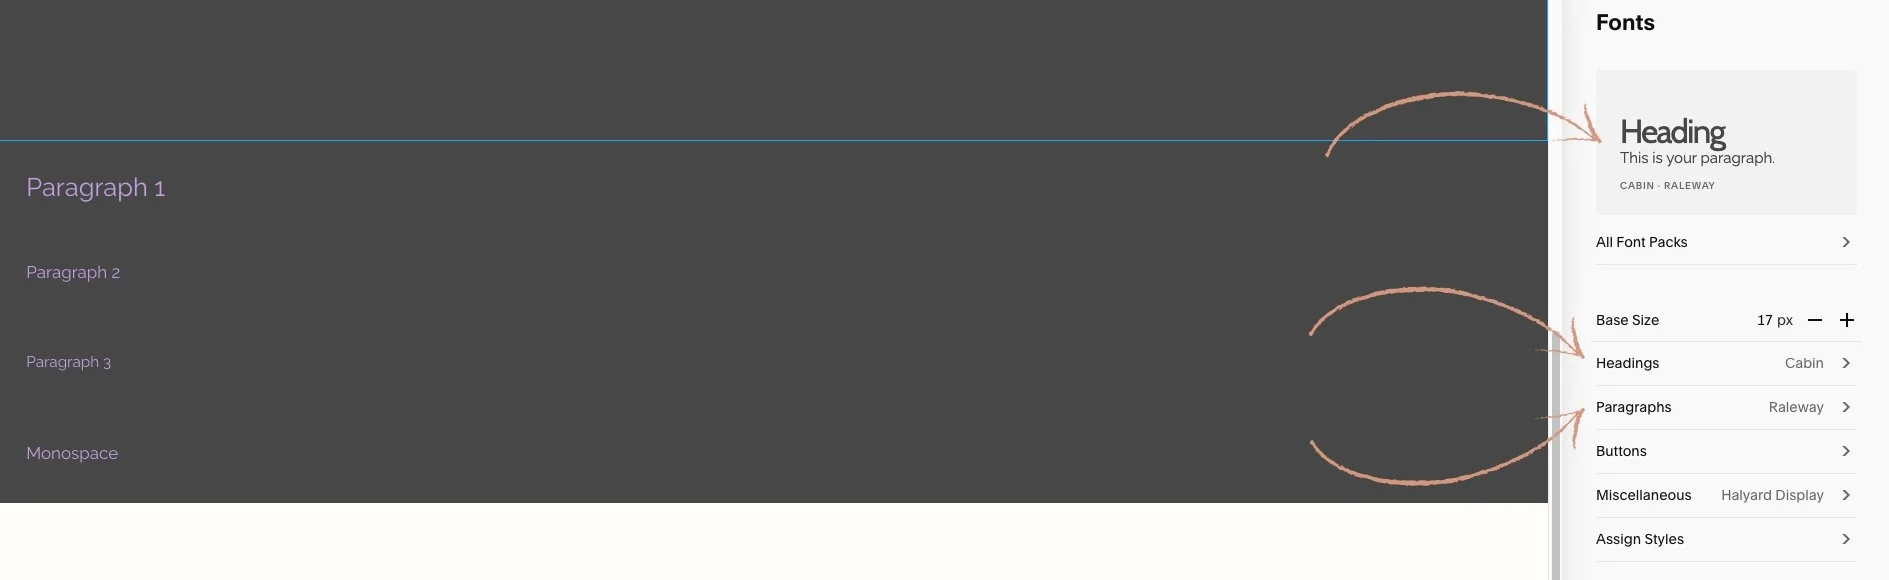
This template features the Cabin–Raleway font pack:
• CABIN for Headings.
• RALEWAY for Paragraphs.
2. Click on where it says Paragraph 3 on your Style Sheet Page, and additional options will appear.
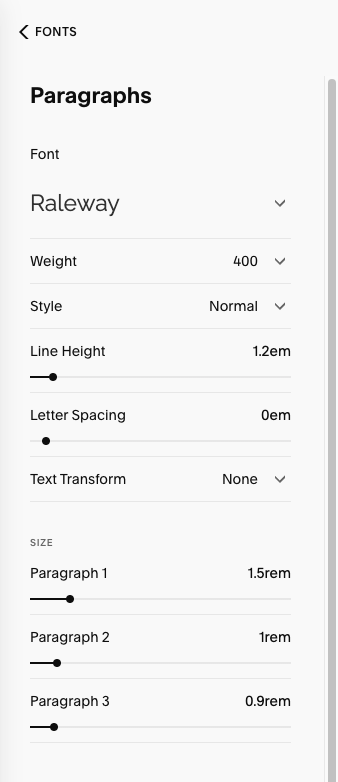
• You have got family Weight which is how bold the font is.
• Style Normal or Italic.
• You have got Line Height .
• Letter Spacing.
• Text Transform, will make it automatically uppercase or not.
And then underneath that, you have got three paragraph size options:
• Paragraph 1
• Paragraph 2
• Paragraph 3
• On your Style Sheet Page on you left-hand side:
Scroll down, so you can see all Paragraphs.
On the Paragraph menu, pull the Paragraph 3 slider over to the right hand side.
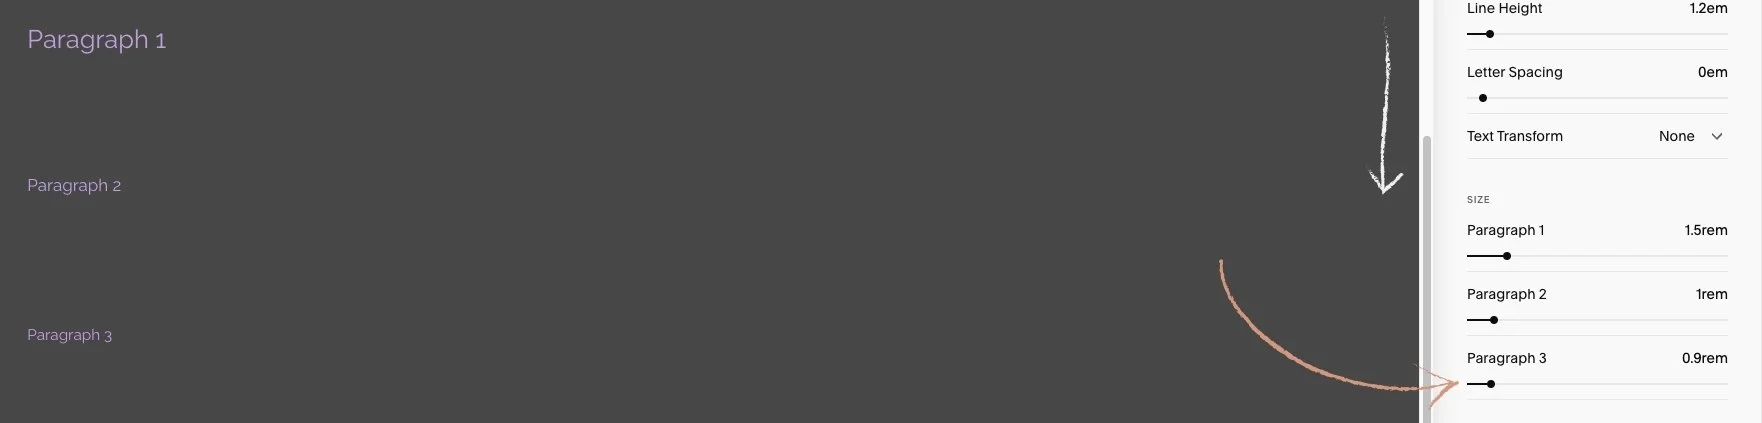
• Check it out, Paragraph 3 Font is going to increase along with anything that shares that same font family.

⭐️ Whatever you decide to do, just select save when you’re done and you’ll be good to go.